How to inspect hulls, pontoons, props, and moorings using live view on your phone or tablet, with Carbon Fibre Poles for control
Boat inspections are one of those jobs that sound simple until you try to do one properly. The areas you need to check most are below the surface, often in low light, current, or murky water. Hull condition, pontoons, props, intakes, transducers, and moorings all sit in places that are awkward to see, especially without diving.
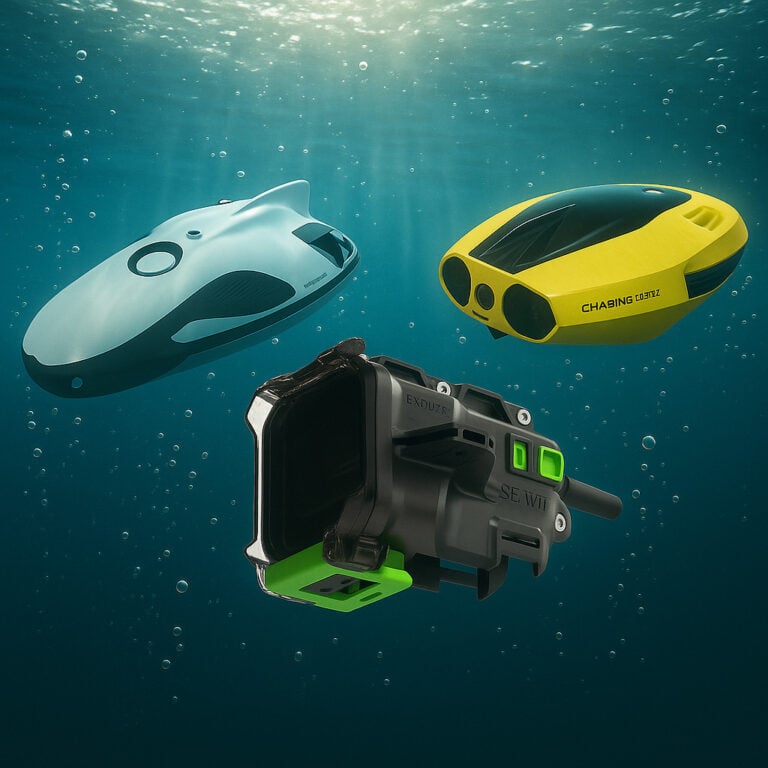
That is why a boat inspection camera setup with a stable live view is so useful. The Seeker Marine Kit is built for exactly this kind of work. It gives you real time underwater viewing on your phone or tablet, so you can check the important stuff quickly, safely, and with confidence.
Seeker Marine Kit product link https://seavu.com/product/seeker-marine-kit/
What people check during a boat inspection
- Hull and antifoul condition, scratches, blisters, cracks, growth
Marine growth builds up faster than most people expect, especially on boats that sit in the water, so it is worth checking for biofouling regularly:
https://en.wikipedia.org/wiki/Biofouling - Props and running gear, line wraps, dings, bent blades
Even small prop damage can affect handling and efficiency, so it is worth knowing what you are looking at:
https://en.wikipedia.org/wiki/Propeller_(ship) - Intakes and outlets, blockages, weed, plastic
- Transducers and fittings, alignment, damage, missing parts
- Pontoons and swim platforms, fasteners, brackets, corrosion spots
Corrosion around mixed metals is common in marine environments, so it helps to understand galvanic corrosion:
https://en.wikipedia.org/wiki/Galvanic_corrosion - Moorings and anchor gear, shackles, chain wear, connection points
Why the Seeker Marine Kit is ideal for inspections
For inspections, the goal is simple, you want a clear live view, and you want control of where the camera is pointing. The Seeker Marine Kit is designed to stream live underwater video to your phone or tablet, which makes it ideal for quick checks at the ramp, at the marina, or on a mooring.
It is also practical. You can move the camera slowly, change angles, and confirm details immediately. That is what makes inspections faster than recording and hoping you captured the right thing.
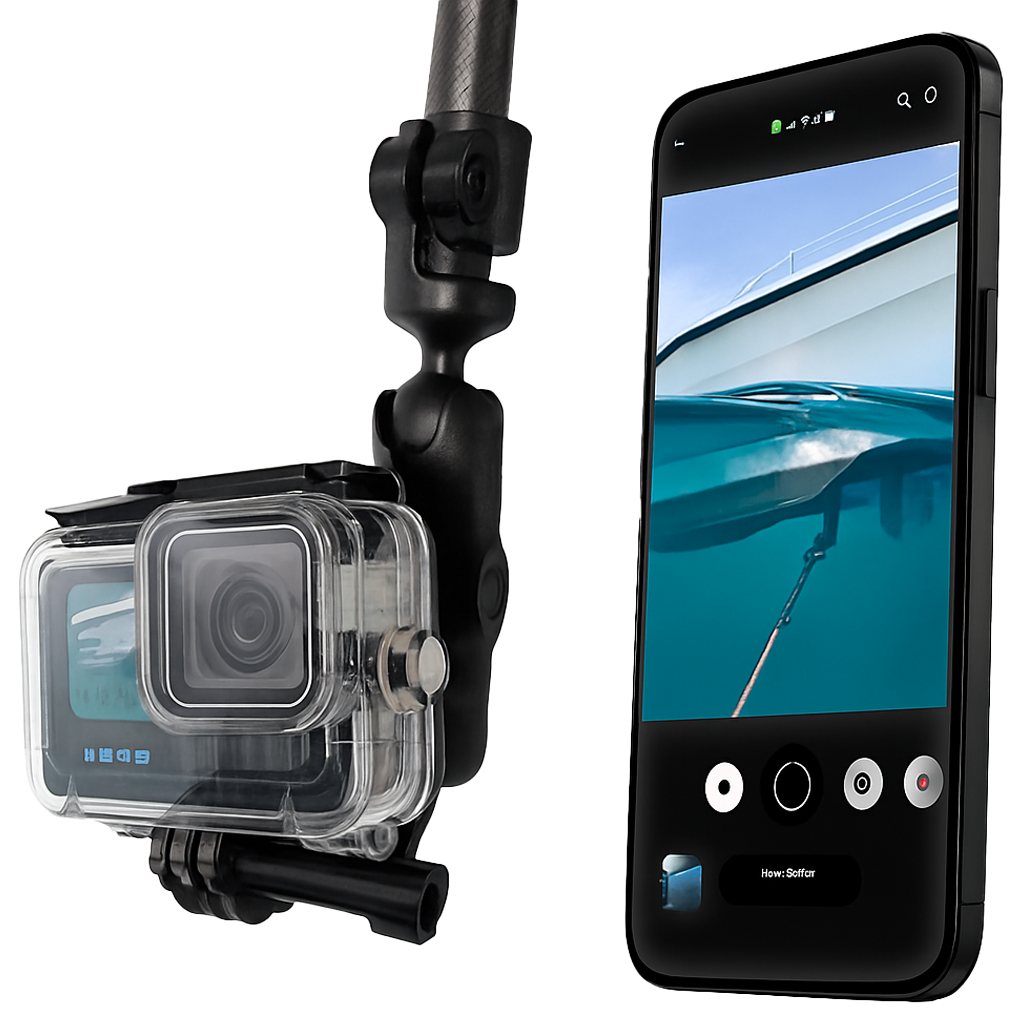
The real game changer, Carbon Fibre Poles
A big reason inspections go wrong is camera control. If the camera swings, rolls, or drifts into the hull, the footage becomes hard to use. This is where Seavu Carbon Fibre Poles make a huge difference.
A pole lets you:
- Position the camera precisely under the hull or beside pontoons
- Hold a steady angle on transducers, intakes, and fittings
- Sweep slowly along a section without the camera spinning
- Keep your distance from structure while still getting close up detail
- Inspect from the deck without leaning over awkwardly
Carbon Fibre Poles and mounts for better control
For inspections, camera control is everything. That is why Seavu offers two telescopic Carbon Fibre Pole options, depending on how much reach you need.
- 3m Carbon Fibre Extension Pole
https://seavu.com/product/carbon-fibre-extension-pole/ - 10m Carbon Fibre Telescopic Pole
https://seavu.com/product/carbon-fibre-telescopic-pole-10m/
If you already have your own pole, you can also use the Seavu Seeker Pole Mount to attach the system to your existing setup.
https://seavu.com/product/seeker-pole-mount/
All of these options use a Ball Mount so you can set the camera angle exactly where you want it, whether you are looking forward along the hull, down at a prop, or up under a pontoon. They also use a Quick Release Mount, which makes it quick and easy to attach and detach the camera between checks, without fiddling around at the side of the boat.
Where the Seeker Marine Kit fits best
The Seeker Marine Kit is best when:
- You want live view on a phone or tablet
- You are inspecting around boats, jetties, pontoons, and moorings
- You want a portable setup that is fast to deploy
- You want a stable view without needing a separate monitor
If you are mainly doing inspections, the phone or tablet workflow is often the simplest and fastest. It also makes it easy to show someone else what you are seeing right away.
Set up tips for clearer inspection footage
- Start in clean water, move slightly up current so you are not looking into stirred up silt
- Use the pole to slow everything down, steady movement improves clarity more than resolution
- Keep the lens close but not too close, give yourself room to see the full fitting or edge
- Change angles on anything suspicious, one view can hide a crack, nick, or missing fastener
- If visibility is poor, add light, lighting often matters more than camera settings
A simple 5 minute inspection workflow
- Choose your target, hull, prop, intake, transducer, pontoon, or mooring
- Set your camera before you start, resolution, stabilisation, and colour settings
- Use the Carbon Fibre Pole to position the camera and hold a steady angle
- Sweep slowly, then return to anything that looks unusual for a closer check
- Save your results, either record clips or take note of what needs attention
Optional safety and maintenance reference
If you want a general boating maintenance and safety checklist style reference, this is a useful guide:
https://www.msq.qld.gov.au/Safety/Boat-maintenance
Final thoughts
A good boat inspection is about catching small problems before they become expensive ones. With the Seeker Marine Kit and a Carbon Fibre Pole, you can get a controlled real time underwater view without diving, without guesswork, and without wasting time. It is one of the simplest ways to turn a boat inspection camera idea into a practical routine you will actually use.
Want to compare inspection setups? See all Seavu underwater inspection options here: https://seavu.com/underwater-activities/inspections/