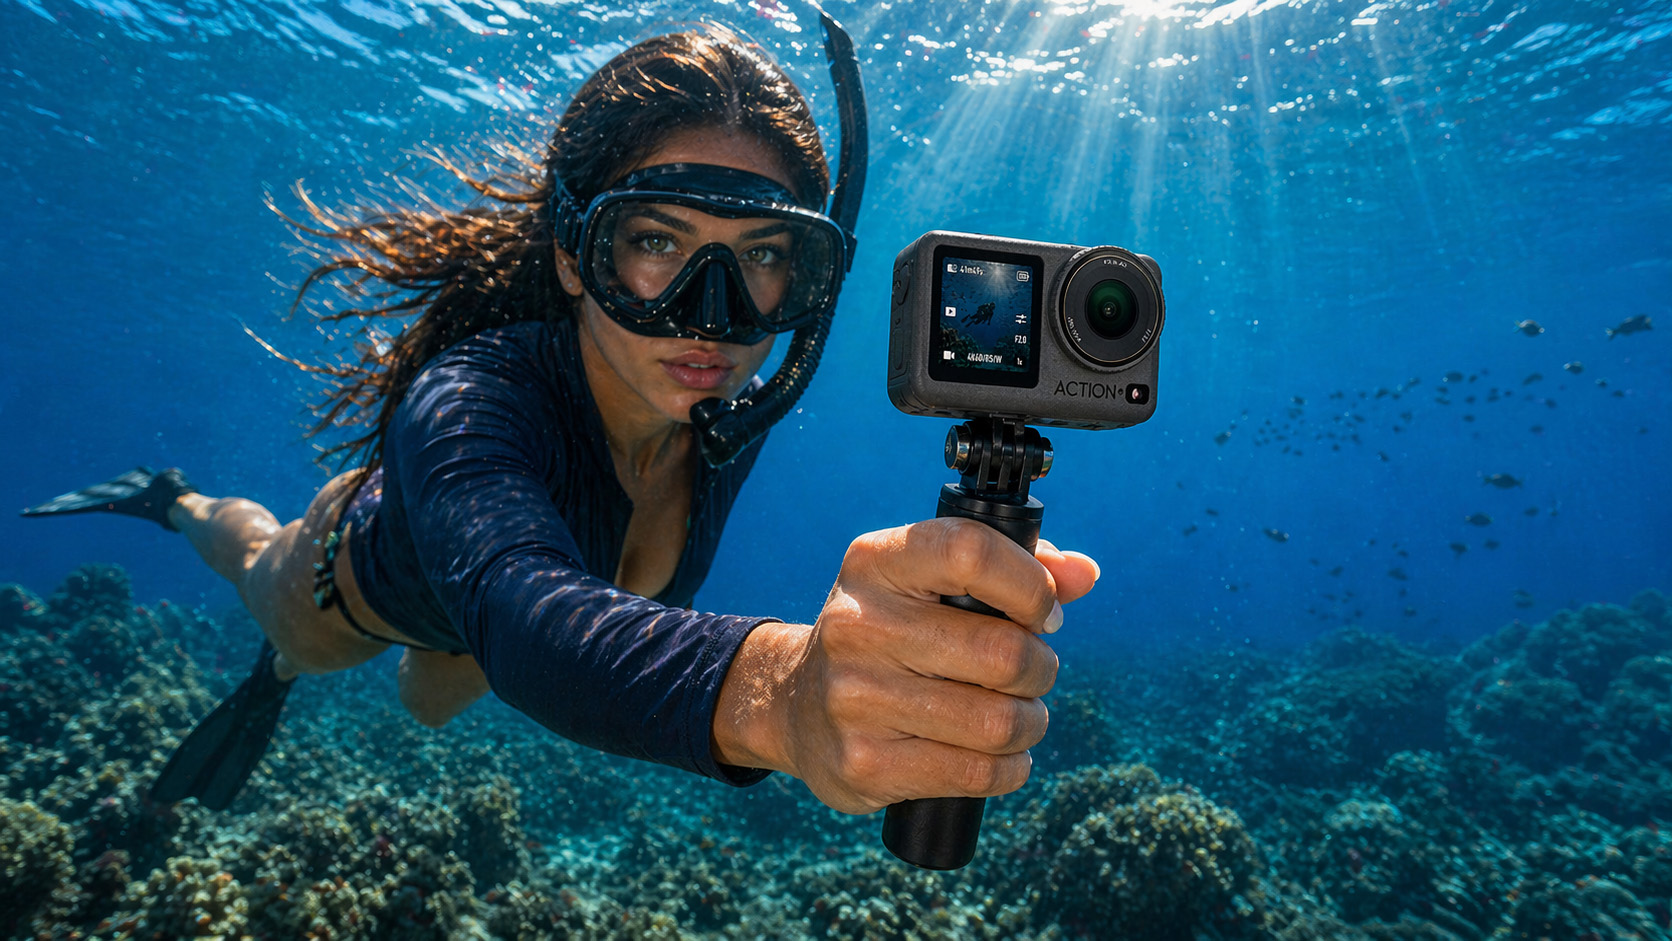
Real world DJI Action 4, 5 Pro, and 6 settings for clearer footage, better low light performance, and consistent underwater results
DJI action cameras have become some of the best options for underwater filming, especially when light levels start to drop. In this guide, we break down the best underwater settings for DJI action cameras, how they perform below the surface, and how to get clearer, more consistent results in real world conditions.
One of DJI’s biggest advantages underwater is sensor performance. In our experience, cameras like the DJI Osmo Action 5 Pro and Action 6 hold detail better and produce cleaner footage in lower light than GoPro, which becomes more noticeable as you move beyond shallow water.
This guide focuses on the latest DJI action cameras, including the DJI Osmo Action 4, DJI Osmo Action 5 Pro, and DJI Osmo Action 6, along with practical advice based on real underwater use. If you are comparing complete systems, you can also explore our underwater camera kits and our guide to underwater cameras.
Quick Recommended Setup
If you want a reliable starting point, use this:
- Resolution: 2.7K
- Frame Rate: 50fps
- ISO: 100 to 400
- White Balance: Auto
- Colour: D-Cinelike
This setup gives a strong balance between image quality, smooth motion, and low noise in most underwater situations.
Default Settings vs Manual Control
DJI cameras perform well straight out of the box, especially in shallow water where light is stable. However, underwater conditions change quickly. Light fades with depth, colours shift, and visibility can vary from one moment to the next.
For that reason, manual control usually delivers more consistent results. Locking in a few core settings helps reduce unwanted exposure changes, inconsistent colour, and noise.
Recommended Pro Settings
For more consistent underwater footage, use manual control:
- Resolution: 2.7K or 4K
- Frame Rate: 30 to 50fps
- ISO Min: 100
- ISO Max: 400 (up to 800 in low light)
- White Balance: Auto or manual
- Colour: D-Cinelike
- Sharpness: Low
- Stabilisation: On (test in your setup)
These settings provide a strong baseline across most underwater conditions.
White Balance Underwater
White balance plays a big role underwater because colour changes quickly with depth.
As you go deeper, warmer colours like red and orange disappear first, leaving footage looking blue or green. How you handle white balance can affect how natural your footage looks.
Auto White Balance (AWB)
For most situations, Auto white balance works very well.
DJI cameras are good at adjusting to changing light conditions, especially when depth and visibility vary. This makes AWB the best option for general use.
Manual White Balance
Manual white balance is useful when:
- filming at a consistent depth
- shooting in stable lighting conditions
- capturing footage for editing or comparison
It helps keep colour consistent across clips, which can be important for research or post production.
Settings Based on Depth
Underwater conditions change quickly with depth, so your settings should adjust accordingly.
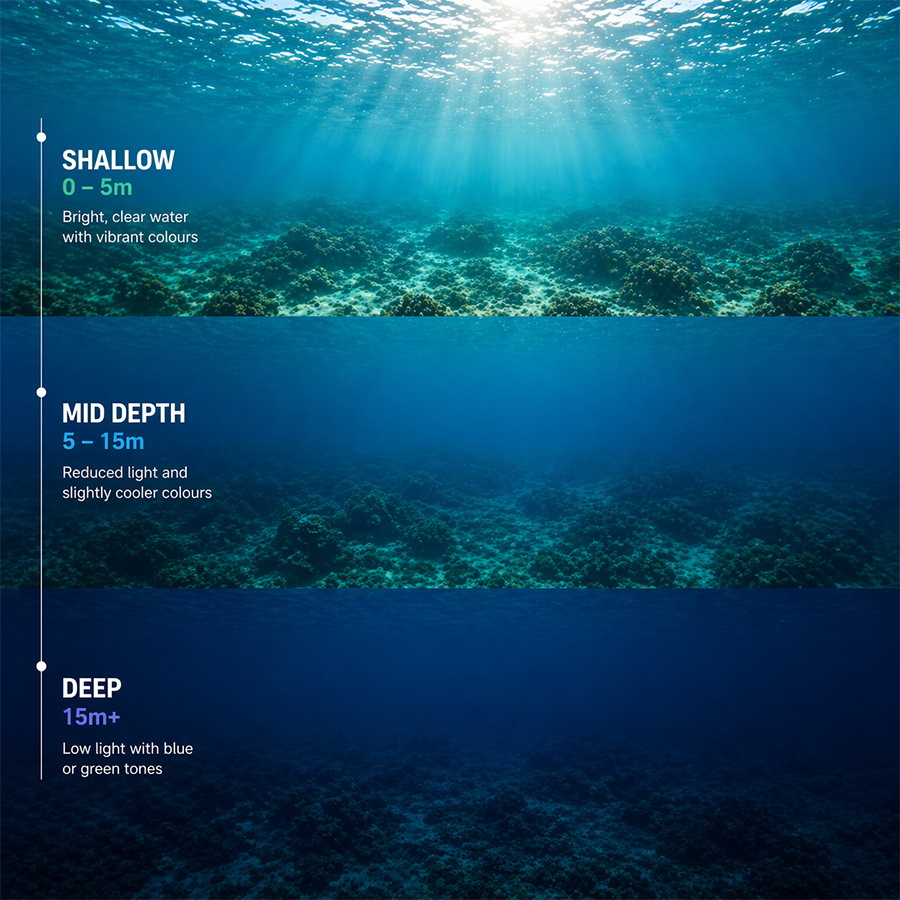
Shallow Water (0–5m)
- Plenty of natural light
- Auto white balance works well
- Lower ISO is sufficient
- 50fps is a solid default
Mid Depth (5–15m)
- Light starts to drop off
- Colours begin to shift
- Auto white balance still works, but manual can help with consistency
- ISO may need to increase slightly depending on clarity
Deeper Water (15m+)
- Low light becomes the main challenge
- 30fps is often the better choice as it allows more light in
- ISO may need to increase to 800
- Colours will shift heavily towards blue or green
In deeper water, the DJI Action 5 Pro and Action 6 tend to maintain better image quality due to their larger sensors, producing cleaner and more usable footage than most action cameras.
Lens Choice: Wide vs Linear
Choosing the right lens mode can make a noticeable difference underwater.
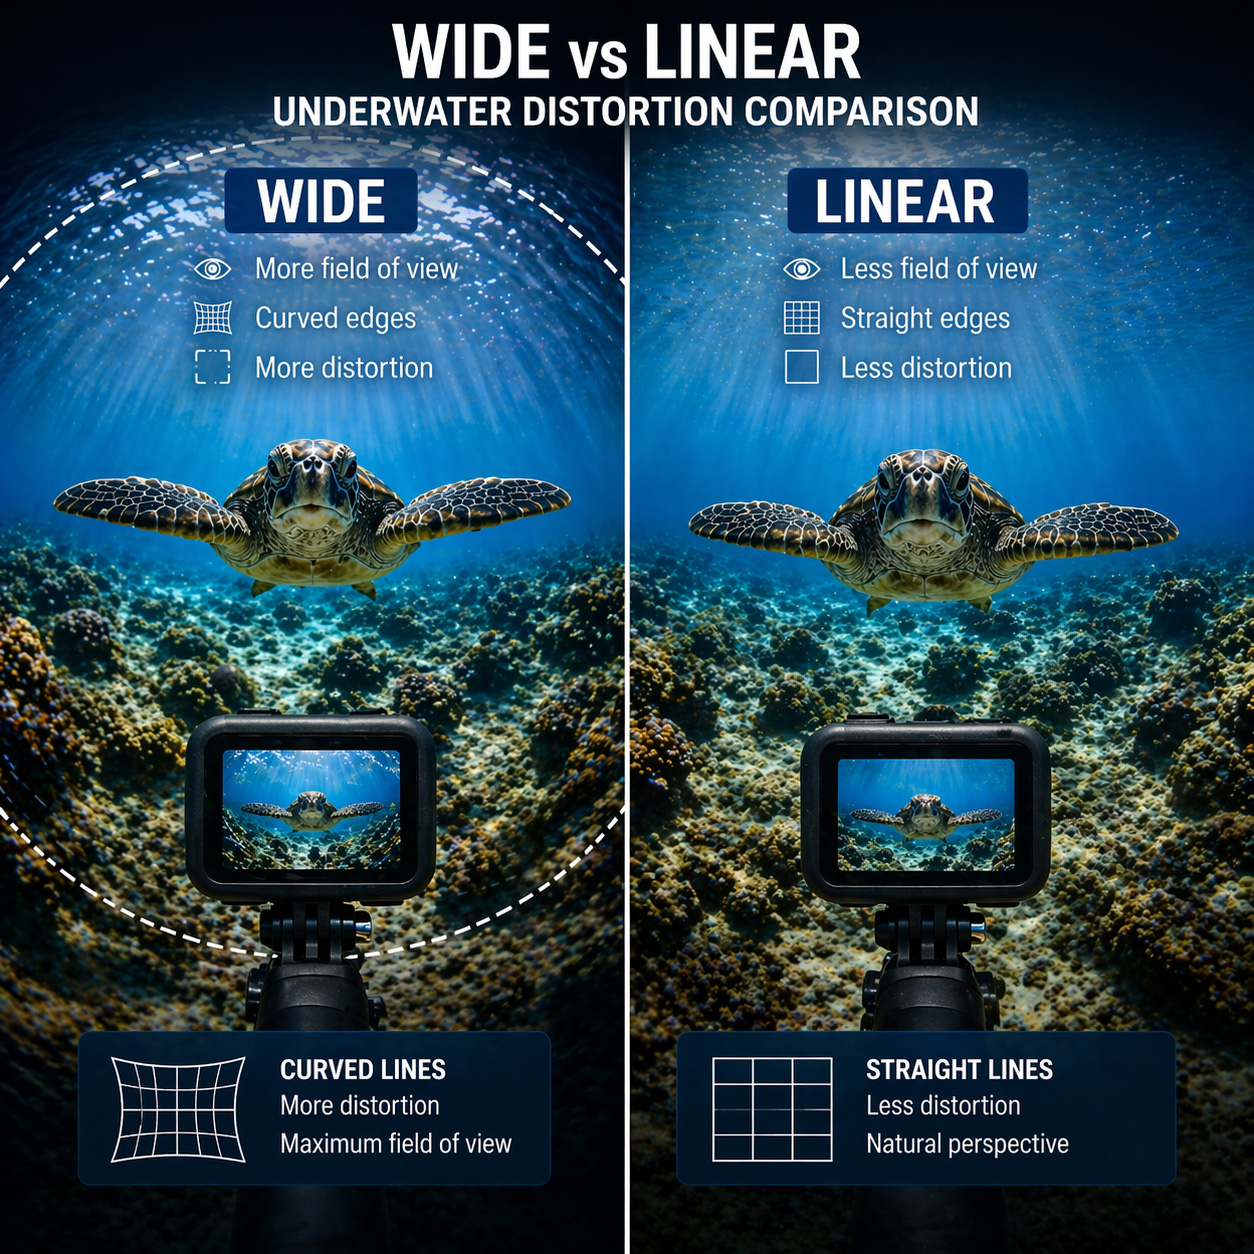
Wide Mode
- Captures more of the scene
- Easier to keep fish, structure, and movement in frame
- Best for general use and live observation
However, wide mode can introduce distortion, especially around the edges of the image.
Linear Mode
- Produces a more natural, less distorted image
- Better for situations where accuracy matters
This is particularly important for:
- research and measurement
- inspections
- comparing size or distance
- any application where visual accuracy is critical
Which should you use?
For most underwater use, wide mode is the better choice because it increases your chances of capturing what you are trying to see.
If accuracy is important, switch to linear mode to avoid distortion.
Why DJI Cameras Perform Better Underwater
One of the biggest advantages DJI has over GoPro underwater is low light performance. The DJI Osmo Action 5 Pro and Action 6 use larger sensors, which capture more light per frame. This makes a real difference once you move deeper, shoot in darker water, or work in lower visibility.
In practice, this usually means:
- Cleaner footage at depth
- Less visible noise and grain
- Better colour retention
- More usable footage overall
In our experience, the Action 5 Pro and Action 6 produce more reliable underwater results in low light than GoPro, particularly beyond shallow water.
General Underwater Use – Recommended Settings
| Setting | Recommended | Why it matters |
|---|---|---|
| Resolution | 2.7K | Delivers sharp detail without creating large, unnecessary files |
| Frame Rate | 50fps | Smoother motion, especially for fish and movement |
| ISO Max | 400 | Keeps noise under control as light drops |
| White Balance | Auto | Adapts quickly as depth and light change |
| Colour | D-Cinelike | Retains more detail for editing later |
For most underwater situations, this setup gives the best balance between clarity, motion, and low noise without overcomplicating things.
Fishing and Live Observation – Recommended Settings
| Setting | Recommended | Why it matters |
|---|---|---|
| Resolution | 2.7K | Clear footage without unnecessary processing load |
| Frame Rate | 30 to 50fps | Lower frame rates help in low light, higher helps with movement |
| ISO Max | 400 | Maintains a clean image without introducing grain |
| White Balance | Auto | Adjusts naturally as conditions change |
| Lens | Wide | Covers more area, making it easier to spot fish and activity |
For fishing and live observation, prioritise visibility and stability over maximum resolution. Being able to clearly see what is happening matters more than ultra high detail.
Low Light and Deeper Water – Recommended Settings
| Setting | Recommended | Why it matters |
|---|---|---|
| Resolution | 2.7K | Keeps footage usable without pushing the sensor too hard |
| Frame Rate | 30fps | Lets in more light, which is critical at depth |
| ISO Max | 800 | Boosts brightness when light is limited, but should be used carefully |
| White Balance | Auto or Manual | Auto works well, manual helps keep colour consistent |
| Sharpness | Low | Prevents noise from looking harsh or overprocessed |
As you go deeper, light drops quickly. Lower frame rates and controlled ISO make a noticeable difference in keeping footage usable.
Research and Measurement Applications – Recommended Settings
| Setting | Recommended | Why it matters |
|---|---|---|
| Resolution | 4K | Provides more detail for analysis and measurement |
| Frame Rate | 30fps | Stable footage with consistent exposure |
| Lens | Linear | Reduces distortion, which is critical for accuracy |
| ISO Max | 400 | Keeps fine detail clean and usable |
| White Balance | Manual | Ensures colour consistency across footage |
Avoid wide lens distortion where accurate measurements or comparisons are important.
Colour and D-Cinelike
DJI cameras use D-Cinelike, which is a flatter colour profile designed to retain more detail in highlights and shadows. This is especially useful underwater, where light can be uneven and colours shift quickly with depth.
If you plan to edit your footage later, D-Cinelike gives you more flexibility than standard colour profiles.
Stabilisation (RockSteady)
RockSteady works well above water, but underwater performance can vary.
In some situations, the camera can struggle with orientation and introduce slight tilt, even when the camera is level. It is worth testing stabilisation in your specific setup before relying on it.
Do You Need Filters?
Filters are no longer essential with modern DJI cameras.
The improved sensors and colour profiles mean most users can achieve good results without them. However, filters can still help in shallow, clear water if you want better colour straight out of the camera and do not plan to edit much later.
Using the DJI Mimo App
The DJI Mimo app allows you to:
- Preview footage
- Adjust settings
- Start and stop recording
- Switch modes
This is useful when setting up your camera above water.
Can You Use Live View Underwater?
DJI cameras rely on wireless signals for live preview. These signals do not work underwater. Once the camera is submerged:
- Live preview is lost
- You cannot adjust framing
- Recording becomes guesswork
You can learn more about why this happens in our guide to why WiFi does not work underwater.
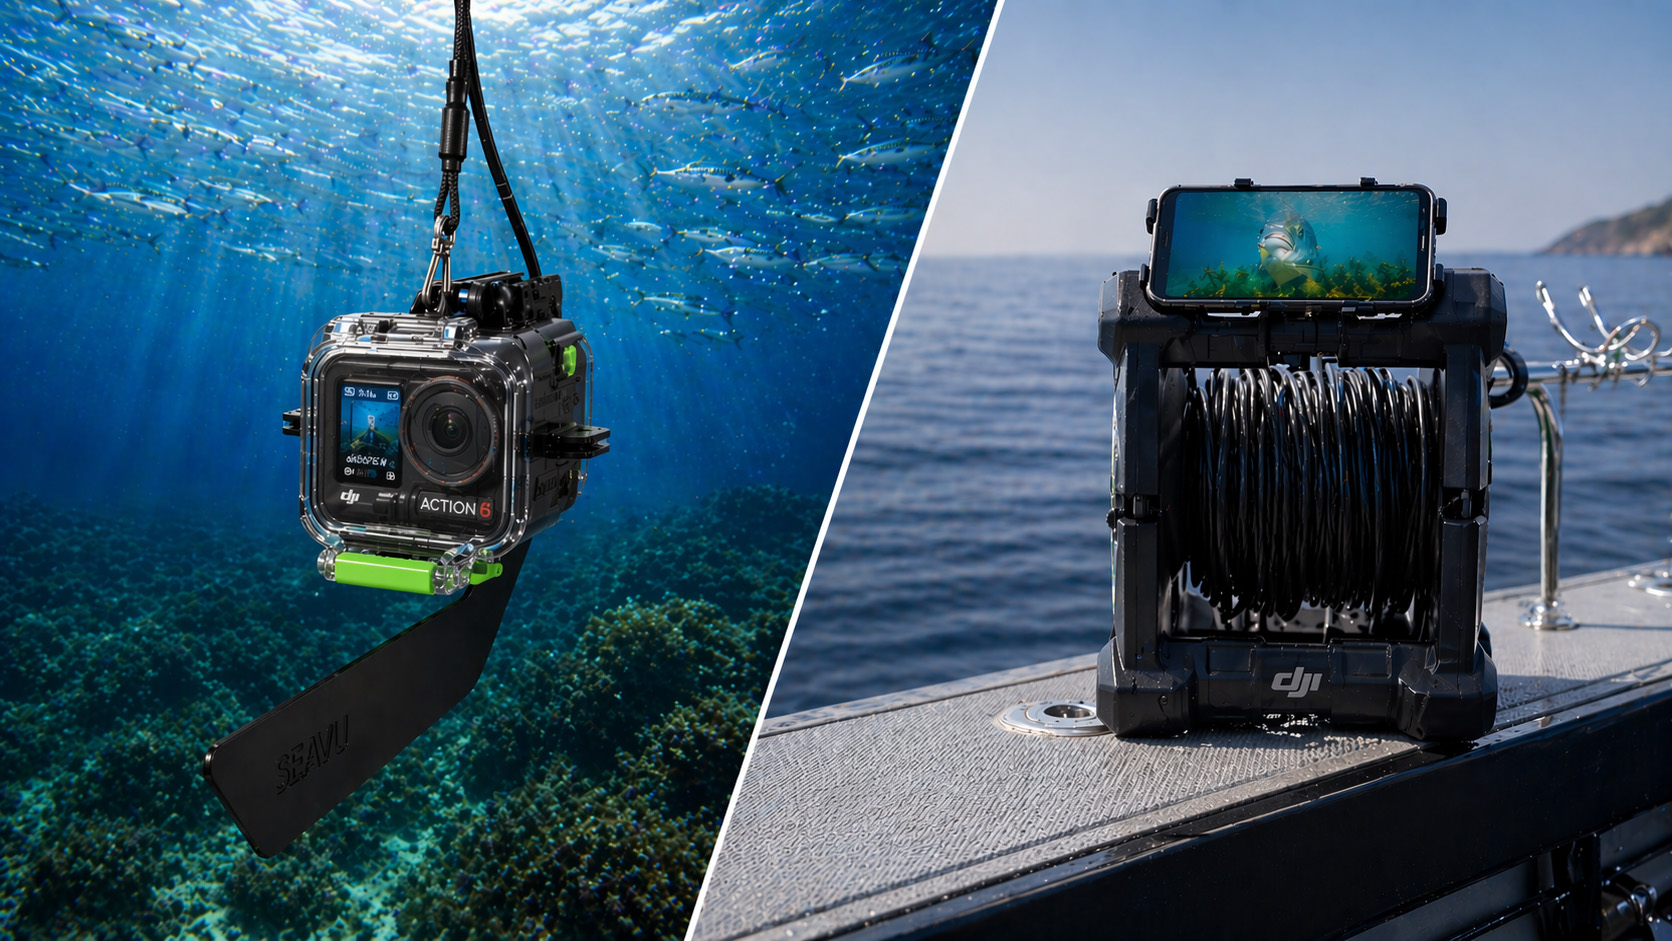
Underwater Live Viewing: WiFi vs DisplayPort
When using DJI action cameras underwater, there are two main ways to view footage in real time: WiFi-based viewing and DisplayPort-based viewing.
WiFi-Based Viewing
DJI cameras use WiFi and Bluetooth for live preview through the DJI Mimo app. This works well above water, allowing you to adjust settings, frame your shot, and control recording from your phone.
However, wireless signals do not travel through water. Once the camera is submerged, the connection is lost, meaning you can no longer see or control the camera in real time.
This is where tethered systems like Seavu underwater camera kits come in, maintaining a connection between your camera and mobile device for live viewing and control.
DisplayPort Output (Action 5 Pro and Action 6)
Newer DJI cameras like the Osmo Action 5 Pro and Action 6 introduce DisplayPort video output, which provides a different approach to underwater viewing.
These cameras can output high definition video directly from the camera via USB-C DisplayPort. This signal can then be converted to HDMI, allowing connection to external displays such as TVs, monitors, capture cards, and chartplotters.
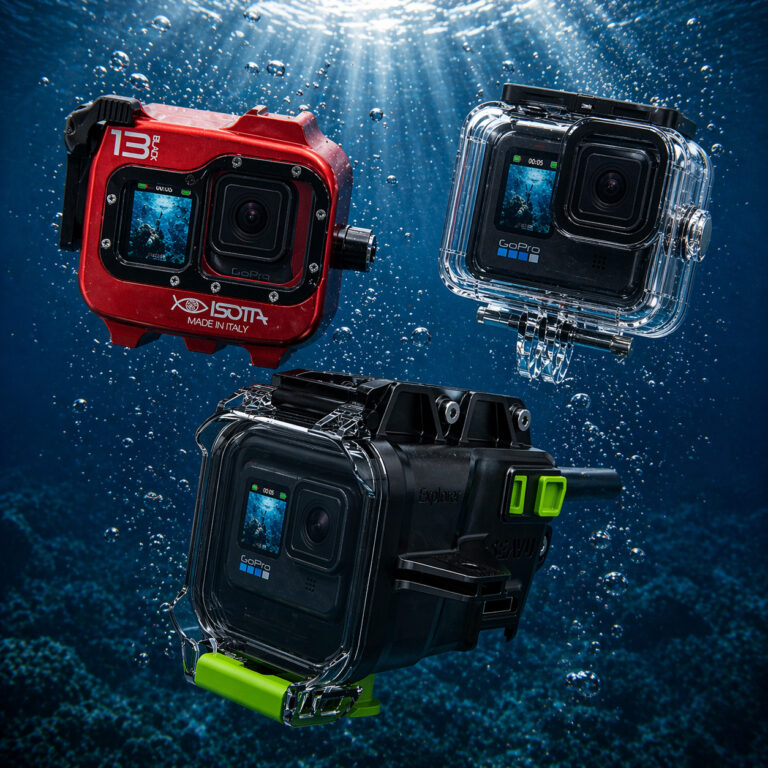
The Explorer+ Pro Kit is designed to take full advantage of this feature, converting DisplayPort to true HDMI while also supporting power delivery via DisplayPort for extended run time during longer underwater sessions.
For more portable setups, the Explorer+ Adventure Kit offers the same core capability in a simpler configuration, along with a wide range of accessories suited to different underwater applications.
A Better Way to View Underwater Footage
If you need to see what your camera is capturing in real time, a dedicated underwater system is required.
Systems like Seavu allow you to:
- View live footage
- Adjust positioning
- Start and stop recording
- Change camera settings underwater
With Explorer+ systems, the DisplayPort output from DJI Action 5 Pro and Action 6 can be converted to true HDMI, delivering a high definition live feed to monitors, TVs, or computers.
This removes guesswork and allows for a much more controlled and consistent underwater setup.
Best Underwater Settings for DJI Cameras
These are the recommended settings for the latest DJI cameras, including the Osmo Action 4, 5 Pro, and Action 6.
Best Settings for DJI Osmo Action 4

- 2.7K at 50fps
- ISO controlled for clarity
- Auto white balance
- Standard or D-Cinelike
The Action 4 remains a strong and reliable option for most underwater use.
Best Settings for DJI Osmo Action 5 Pro
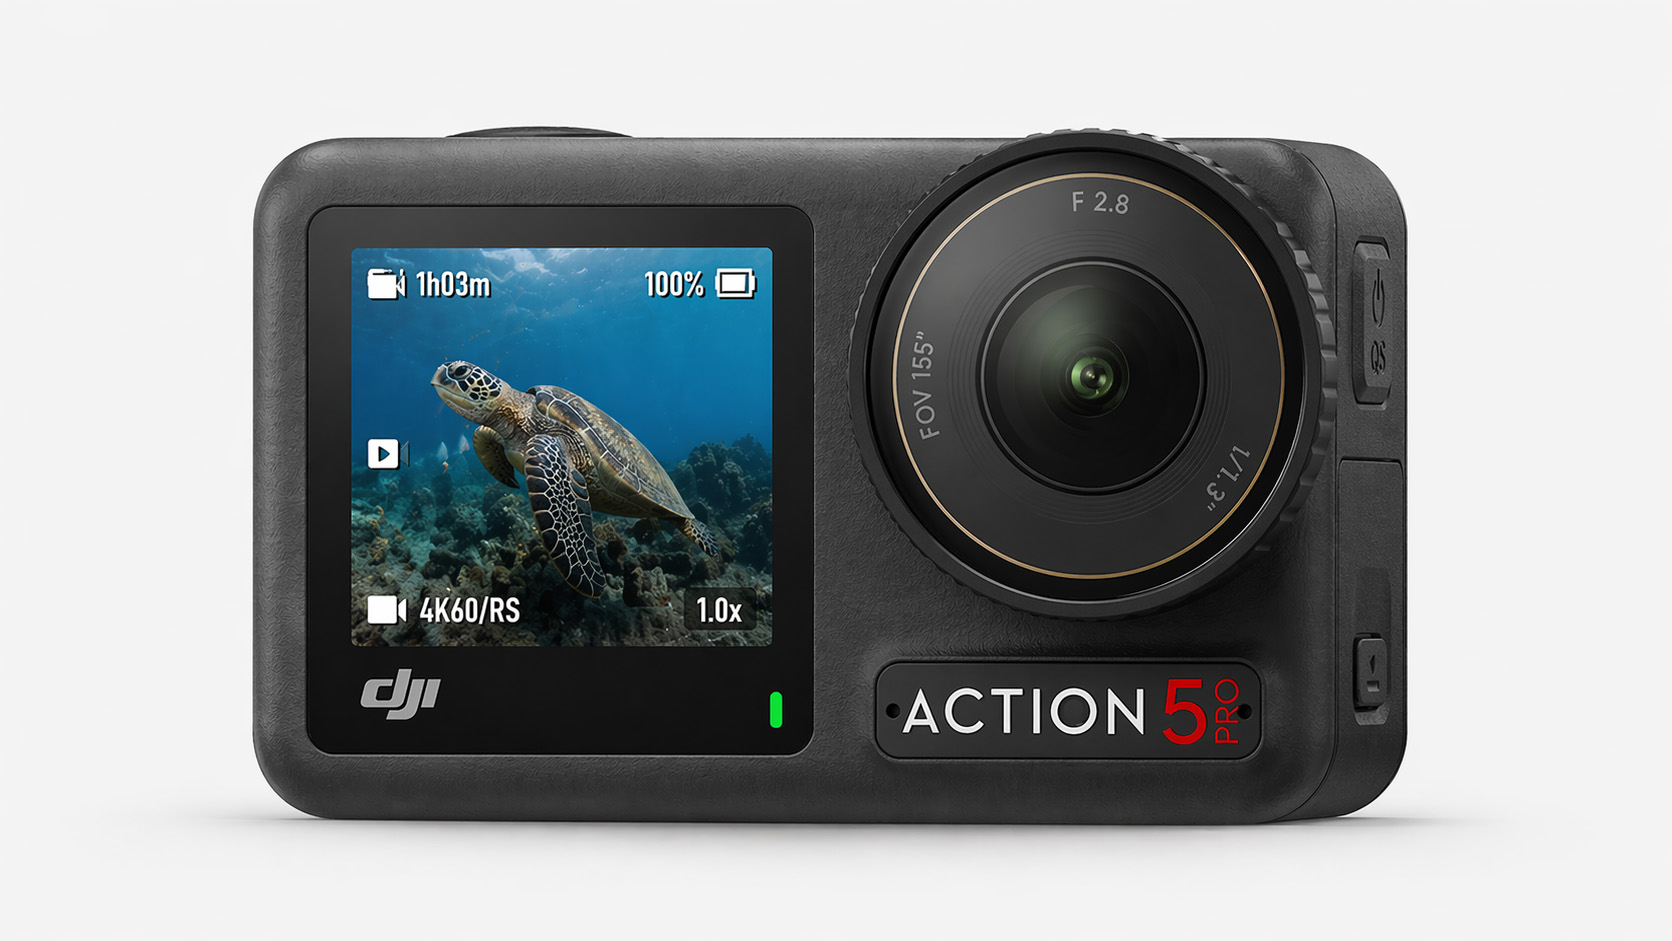
- 2.7K at 50fps
- ISO limited to reduce noise
- Auto or manual white balance
- D-Cinelike colour profile
The Action 5 Pro delivers the best overall underwater performance, particularly in low light conditions where its larger sensor makes a noticeable difference.
Best Settings for DJI Osmo Action 6
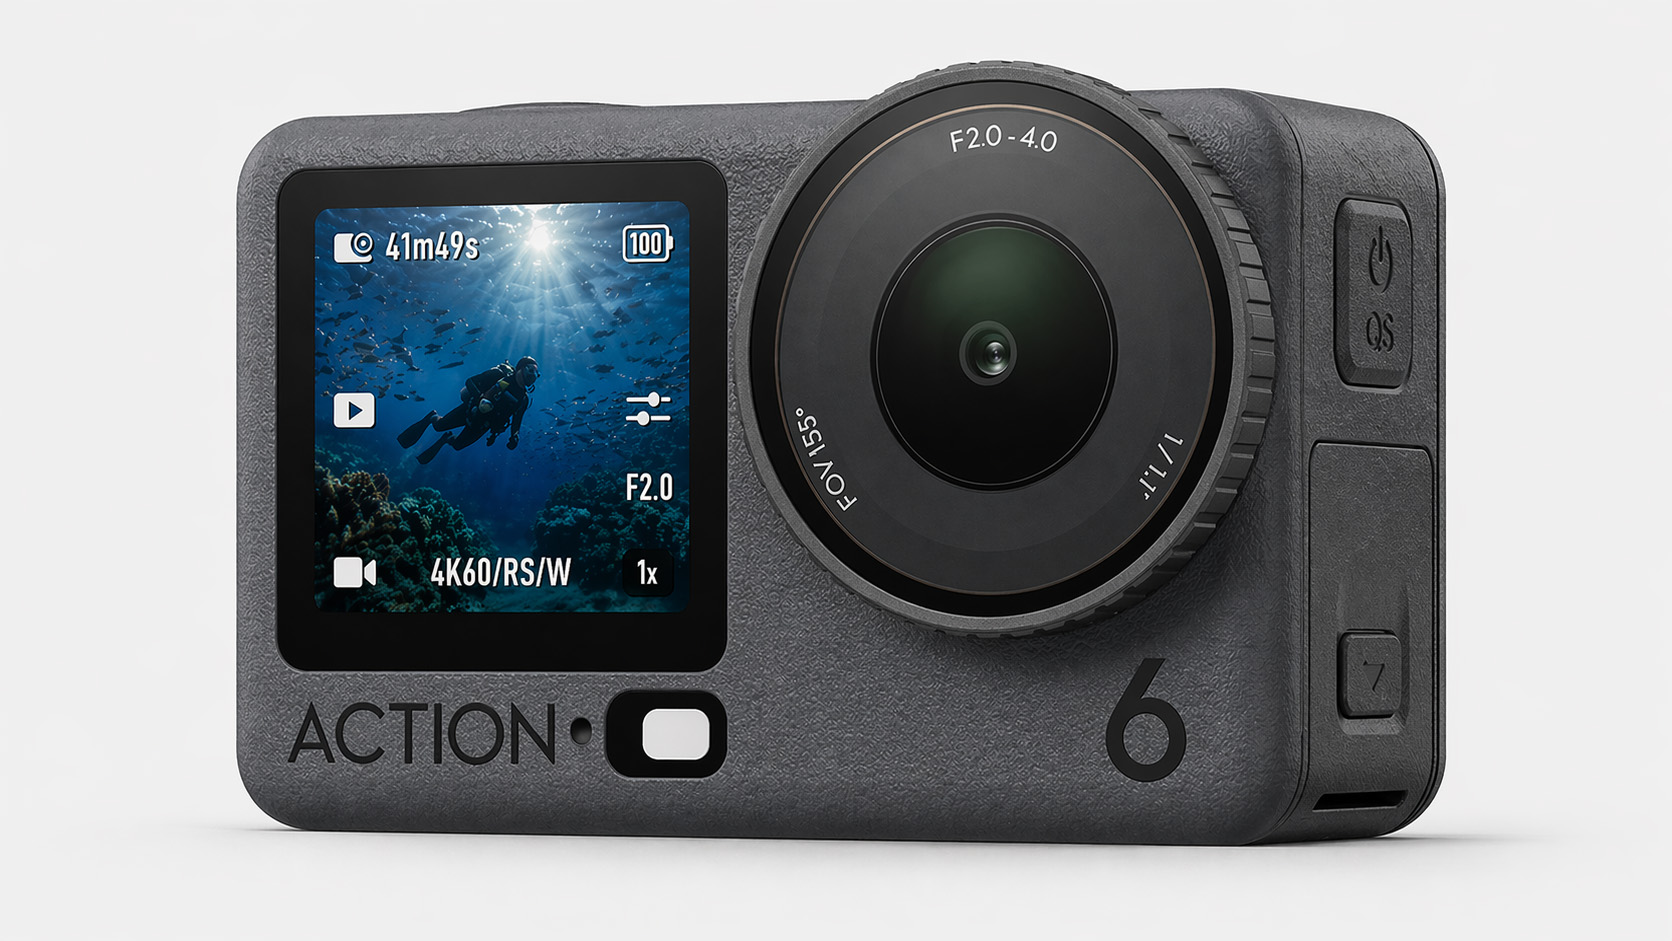
- 2.7K at 50fps
- Low ISO range
- Auto white balance
- D-Cinelike
The Action 6 builds on the strengths of the 5 Pro with similar performance and updated processing.
Final Thoughts
Getting the best underwater footage with DJI action cameras comes down to a combination of the right settings and understanding how conditions change below the surface.
In many situations, especially in deeper water or low light, DJI cameras like the Action 5 Pro and Action 6 have a clear advantage. Their larger sensors produce cleaner, more usable footage where other cameras start to struggle.
That said, even with the right setup, filming underwater without being able to see what your camera is capturing can limit your results.
If you want to take things further, using a live viewing system allows you to see, adjust, and capture footage with far more accuracy. This is where systems like Seavu make a noticeable difference, turning underwater filming from guesswork into a controlled and repeatable process.
Ultimately, the best results come from combining the right camera, the right settings, and the ability to see what is happening in real time.